 People often ask about my hair: yes, the grey is my natural color. My grandfather and most of his siblings were solidly white by their late 40s. Yes, I do dye the ends. Because why -not- play with the blank canvas nature has decided to give me? 🙂 I dye just the tips because I think it looks cool, and because I don’t have to worry about my roots growing in! (Also, the way I dye it, dye never touches my skin, which is mostly just a bonus, but does mean I don’t have to worry much about toxicity.) When it first started going solidly grey in my mid-20s, I colored all of it back to dark brown for a few years while I adjusted to the idea.
When I first tried dyeing the tips, it was via a friend who is a total pro. She invented a method using foils and carefully layered chunks of hair; it has never looked quite as smooth or even as when she did it. But she moved away! And also, I am a cheapskate. That said, if you live in Seattle, you should check out Helix Salon.
Annnnyway, what people ask most often is -how- I dye just the tips. So, uh, here goes:
1. Purchase hair dye.
I use Nice’n Easy: white hair -really- doesn’t like taking color. Plus, this lasts longer than even the good salon color I got when I first tried this plan. It fades well, too. It doesn’t have the pretty purple undertones, tho, even though I use the darkest “blue-black” (2BB).
2. Perform the allergy test.
AH HA HA HA HA HA HA HA HA HA HA
2. Put on a shirt that zips or buttons, or otherwise comes off -not- over your head.
I have a dedicated -very ratty- and dye-stained sweatshirt I use for this. An earlier version of this process used a ratty turtleneck to keep the dye off my skin, but I have developed an even better, higher-tech solution for that…
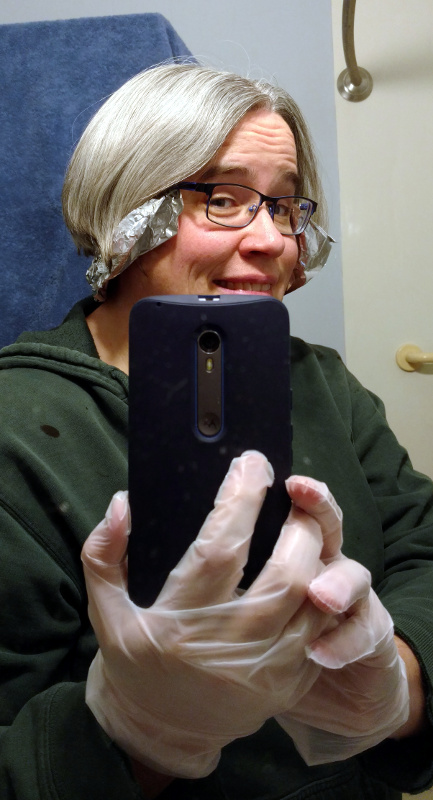
3. Wrap a piece of tinfoil around your head.
No, really.
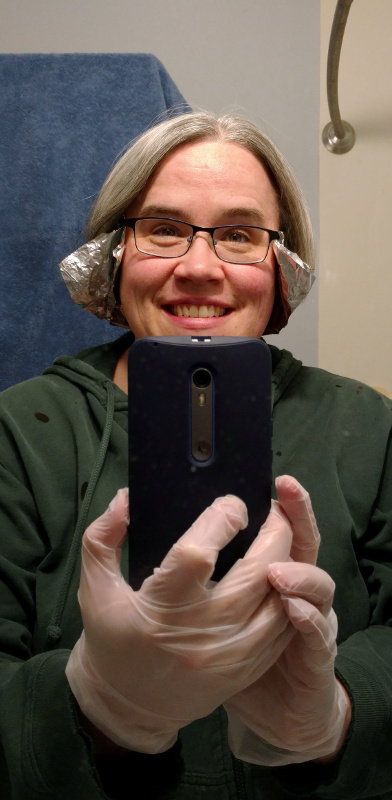
I don’t know how this would work if I -didn’t- wear glasses. They’re pretty key to keeping the tinfoil on.
Everything is going to sound metallic for the next hour or so.
4. Put on the “Expert Colorist” *snicker* gloves.
5. Squeeze some dye out onto your fingers.
6. Use your fingers to squish the dye into your hair.
I grab a chunk near my face, and just squish the dye on. Always start by keeping the dye closer to the tips than you think you want the color to end up; it’ll spread upward in a later step.
7. Continue squishing the dye into your hair, all the way around your head. I do in in about half-inch-wide chunks.
8. Once there’s dye on your hair all the way around, go back and take chunks of hair between your fingers, and slide them back and forth (in the semi-universal “pay me” gesture) to make sure the dye has penetrated to most of the individual hairs in that chunk. If you skip this step (I sometimes forget), you’ll find un-colored hair that was on the inside of one of the chunks when you wash it all out. This step is when the color usually climbs up the hair a little.
I know steps 6-9 would work better with photos, but um, I HAD HAIR DYE ALL OVER MY HANDS.
9. Let it sit for however long you’re supposed to let it sit. Conveniently, the tinfoil can be bent to keep it out of your face at this point. I give it a generous 45 minutes. Enough time to write a ridiculous blog post!
10. Clean up the inevitable drips of color you got on bathroom fixtures in steps 6 and 7 but couldn’t see then.
11. Rinse the dye out.
12. This is one of the few times I actually use a hairdryer, so I can see right away that the color made it where I wanted it to.
And of course, I missed a spot! There is a lot to be said for professional hair colorists. Ah well. 🙂
